|
Setting Up Mail for Mozilla Thunderbird for Windows
Step 1 Download the installer of Mozilla Thunderbird here. After downloading the installer, browse the folder wherein you saved the installer, then double-click the Thunderbird Icon. After the installation, run the Thunderbird email client for the first time. The Account Wizard will automatically start. You will be given three options. Choose email account, then click Next. 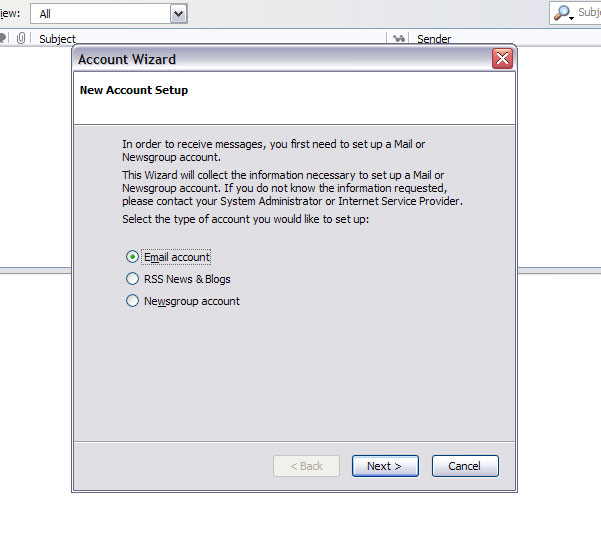 Step 2 Under the Identity section, enter a name that you would like to appear in the From field of your outgoing messages, as well as your email address. Click Next to continue. 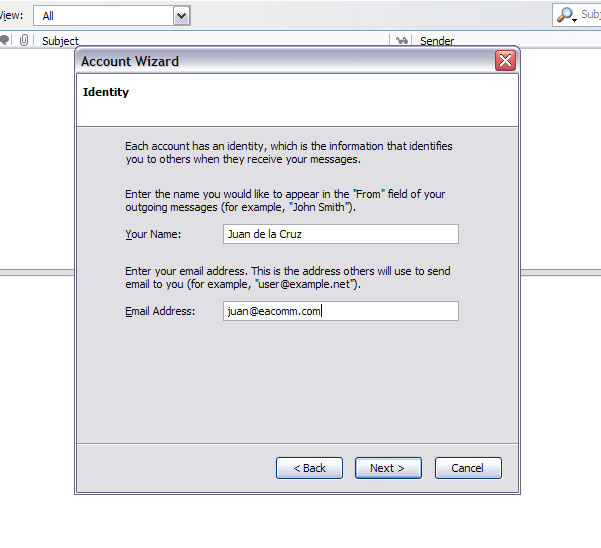 Step 3 Under the Server Information section, select the type of server you will be using to access your mailbox. Most mailboxes use POP3 as the type of mail server. Enter the name of your incoming mail server, as well as your outgoing mail server. If your not sure what to enter, please consult your administrator. Click Next to continue. 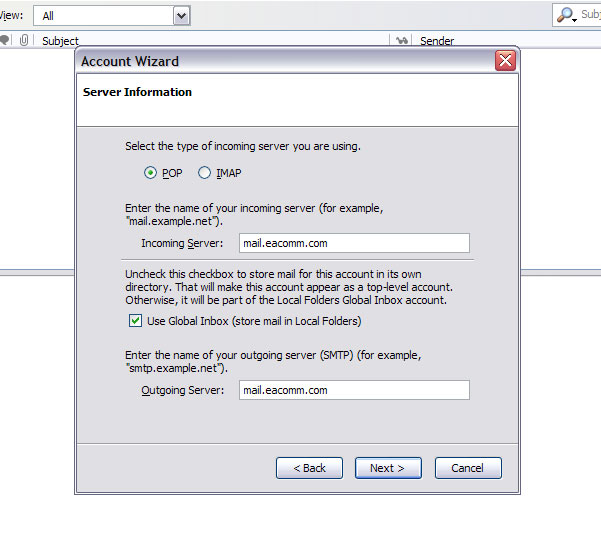 Step 4 Under the Server Names section, enter the username you will be using to access your mailbox. If you're not sure what to enter, please consult your administrator. Click Next to continue. 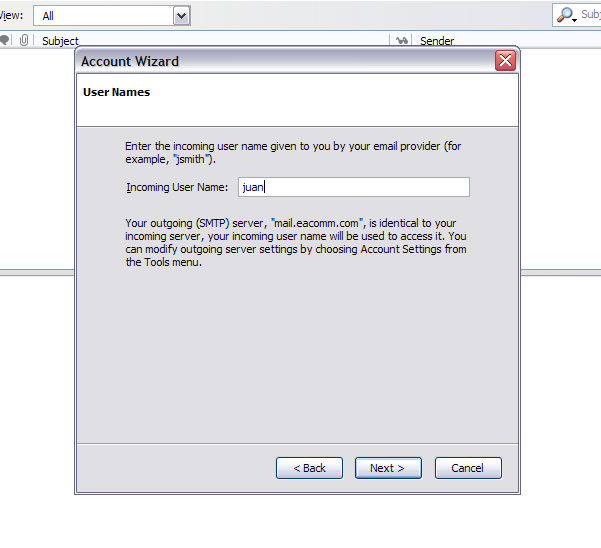 Step 5 Under the Account Name section, enter the Account Name you want to use for your account. Click Next to continue. 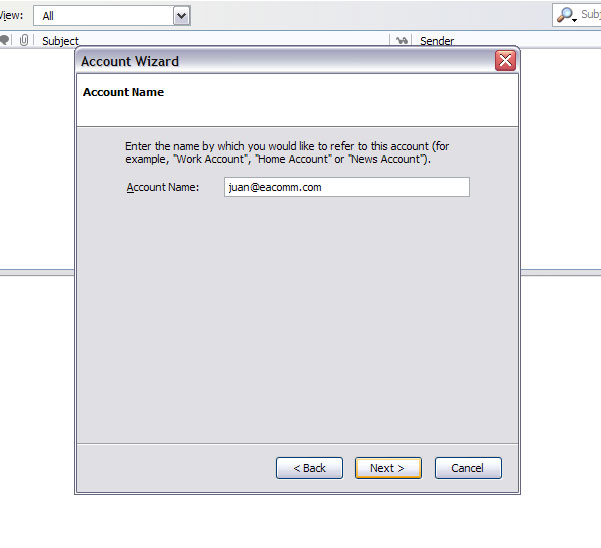 Step 6 If you want to check your mail immediately after you finish the wizard, Check the Download messages now checkbox, then click Finish to finish the wizard. You are now ready to send and receive email using Mozilla Thunderbird. 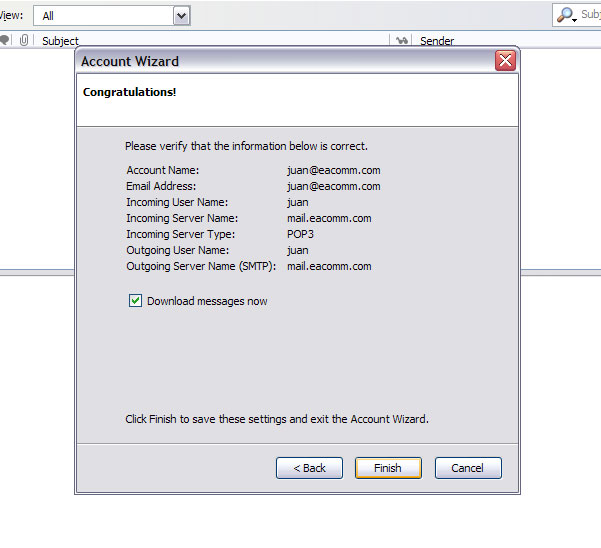 |