FileZilla is a fast and reliable FTP client and server with lots of useful features and an intuitive interface.
Step 01: Opening the Installer and Selecting your Language
Step 02: License Agreement
Step 03: Choosing your Installation Components
Step 04: Choosing your Installation Location
Step 05: Choosing your Start Menu Folder
Step 06: Secure Mode and Settings Storage Configuration
Step 07: Installation Finalization
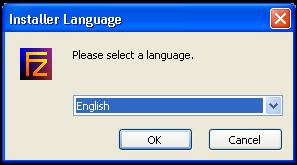
Step 01:
After Downloading FileZilla, Open the downloaded file
A windows which prompts for a language for the installation, should appear like this:
[Back to Top]
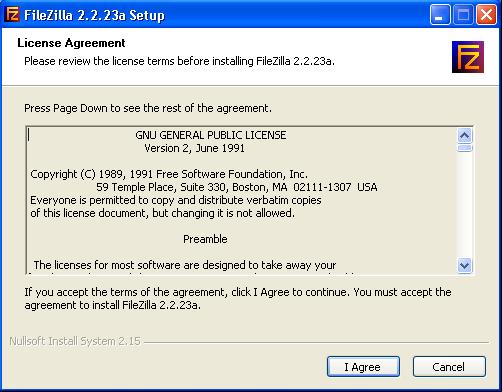
Step 02:
After pressing OK, you're going to be directed to the License Agreement window.
This window contains the GNU General Public License. If you're not yet familiar with the license, kindly read through this.
Press "I agree" to continue with the installation.
[Back to Top]
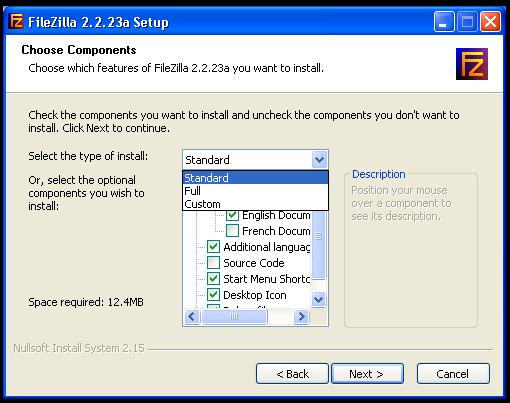
Step 03:
After you agreed to the GNU General Public License Term, you should be directed to a window like this.
In this window you are prompted to choose the components of FileZilla you wanted to install.
There are three options you can choose from for choosing the components:
1.) Standard - Which lets you install default and typical components of FileZilla.
2.) Full - Which lets you install all the components of FileZilla, including those files still needed to be downloaded through the internet.
3.) Custom - Allows you to choose the components you wish to install.
[Back to Top]
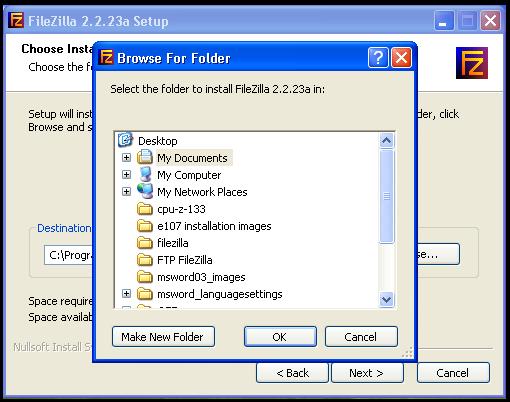
Step 04:
When you're decided on the installation components, click "Next >" and you should be directed to this window.
This window allows you to specify the location or folder where you wanted to install FileZilla.
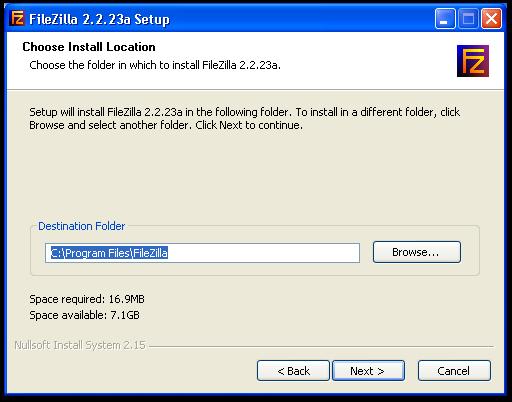
If you don't want the default destination folder, you could simply change it by choosing "Browse..." and a window like this should appear.
[Back to Top]
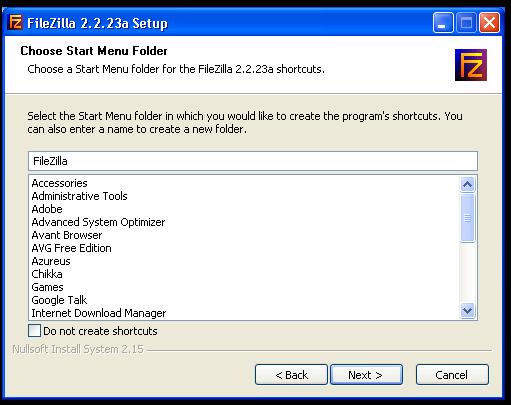
Step 05:
When you're done choosing the destination folder, you should be able to see a window like this.
This window allows you to choose where "Start Menu Folder" you wanted to install your shortcuts and the name of the folder of your shortcuts. This simply allows you where you wanted your "Start Menu Shortcuts" placed.
Usually, most users just click the "Next >" button after seeing this window, leaving it in default.
[Back to Top]
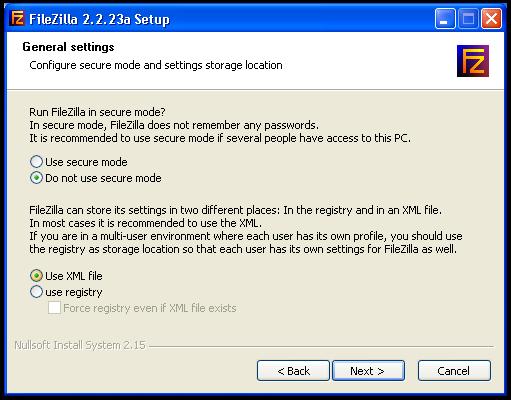
Step 06:
When you're done with your Start Menu Folder, The "General Settings" window should pop-up.
This window basically asks If you want to:
1. Run FileZilla in Secure Mode - This is recommended where several people uses the PC where you're installing FileZilla.
2. Use XML file or Registry for the storage of your settings - Choose the Registry when several people uses your PC.
[Back to Top]
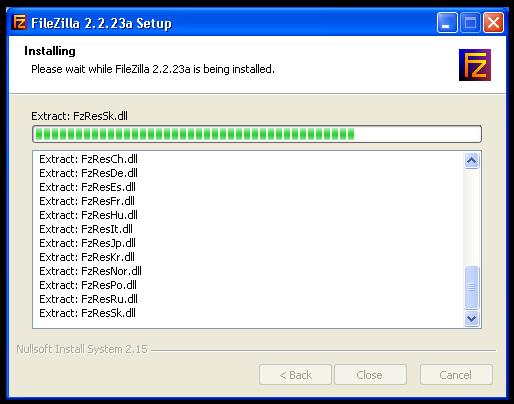
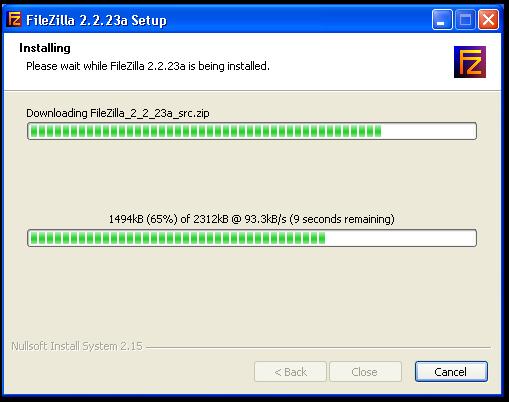
Step 07:
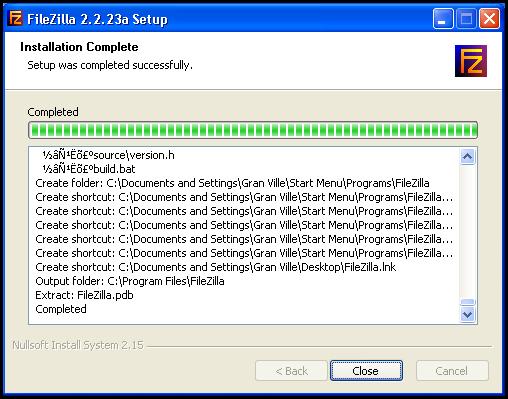
After you click "Next >", installation should begin shortly and you should be able to see pages like these.
After the installation is completed, simply click the "Close" button.
All files and shortcuts should be in their respective places.
[Back to Top]
Go to FileZilla User Guide
Copyright © EACOMM Corporation